It’s instantly apparent that the Formlabs Form Studio 1 is in another league from most other resin 3D printers I’ve seen in recent years. The build quality, workflow, and ease of filling the tank make resin printing straightforward; however, you still need to clean up the model, and that brings the resin mess. Still, the process is more refined, and the end results are undeniably superb.
Reasons to buy
Reasons to avoid
Why you can trust TechRadar We spend hours testing every product or service we review, so you can be sure you're buying the best. Find out more about how we test.
In an inevitable move, Formlabs, which dominates the professional resin 3D print market with high-quality machines that cater to small- to large-scale businesses, has made the move into the more affordable sector, verging on the enthusiast.
From the outset, it’s obvious that Formlabs mean business, and this is an aggressive move into the sector, with a machine that essentially pulls on the quality and design of the Formlabs Form 4, a machine that still retails for around $2,500.
The Form Studio 1, however, is priced at around $700, and while that’s still expensive compared with the competition such as the Uniformation GK3 and Creality Halot X1, as I started to use the machine, that price difference gets you far more than $200’s worth of a better machine.
While the Form Studio 1 is Formlabs’ more accessible resin printer, it still retains much of the professional workflow of the machines that have made them a go-to choice for industry professionals in medical, engineering and product design sectors.
This cheaper machine, for instance, features that same drop-in cartridge system that automatically feeds the resin tank, and the printer is able to monitor both the resin levels and temperature. It also uses the same PreForm software that handles model preparation, supports and print sending.
During my month with the machine, I went through the six resin cartridges supplied for the review and generally found the process unusually clean for this style of printer, especially with the three supplied tanks that I could lid and store after use, although, as ever, longer-term storage would require the usual lengthy tank cleaning process.
What really struck me was the quality of the machine, with some built-in filtration and odours even without the optional filter system did seem low, although it was still used in a well-ventilated workshop following the usual precautions.
While this printer is still more than most resin options, the quality of the machine, workflow and most importantly the models themselves are substantially better than most of the best 3D printers of this type that I've tested. If you are thinking resin, then at present this is the only machine that I would safely recommend.
Formlab Form Studio 1: Price and Availability
At present, the pricing for the Studio 1 Basic package has yet to be set but is expected to be $699 and $749 for the Flex package. The Basic package includes the printer, resin tank and build platform; the Flex package adds the flexible build platform, which I would highly recommend and accessories. The Form Studio Wash+Cure is expected to cost $199, while the optional VOC Extractor is listed at $179. The larger Form Wash V2 and Form Cure V2 are also compatible and sold separately.
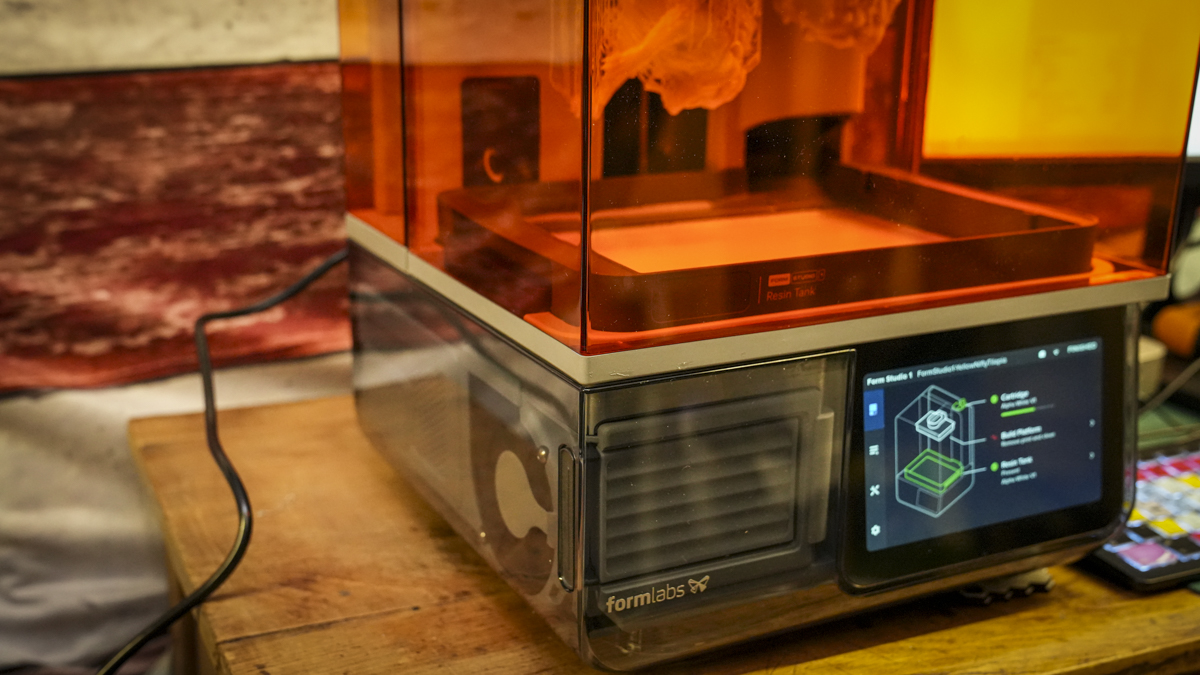
The Form Studio 1 is relatively compact for a resin printer at 342 × 315 × 502 mm in dimensions and with a 200 x 125 × 235 mm build volume. Its orange-tinted cover shields the build chamber from ambient UV light, and you from the screen UV light during exposure.
The orange gives the machine the distinctive Formlabs look, and this, coupled with the transparent panels so you can see the electronics and status lights, gives it a very futuristic look. That Orange cover features a flip-up lid design, so when it comes to placing it, you also need to ensure that there's a bit of headroom. It’s a great-looking machine and will slip into any studio or workshop seamlessly, although I would still place it somewhere with good ventilation.
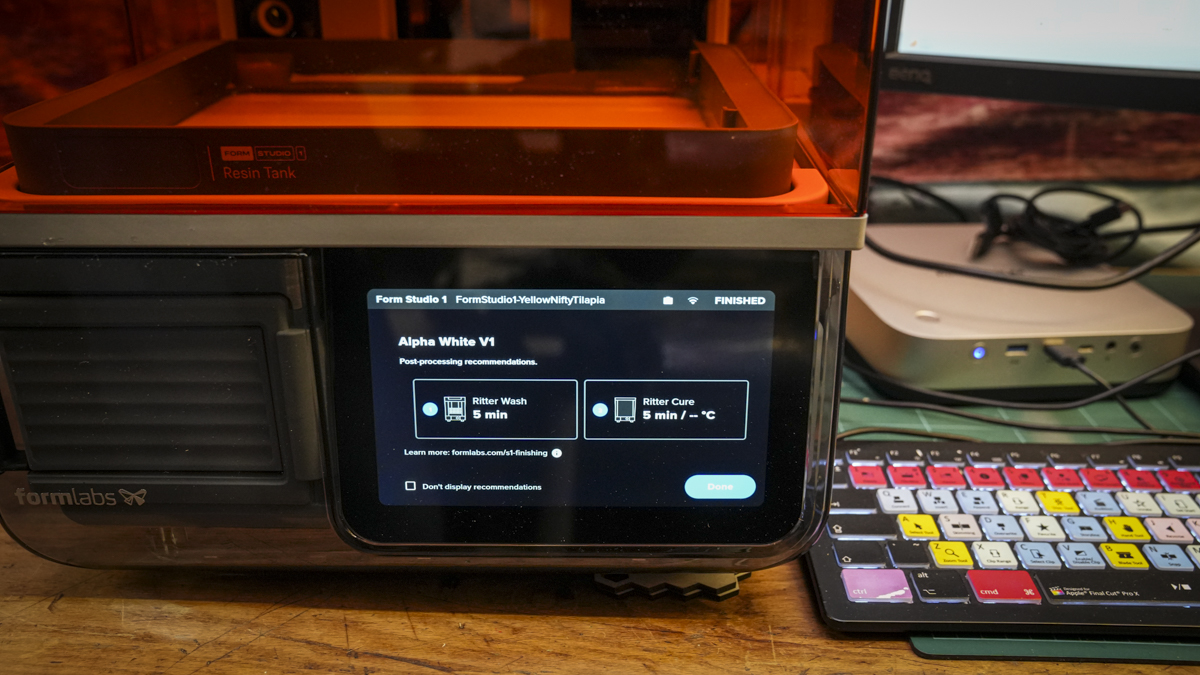
On the front, there’s also the large touchscreen, which gives you access to the printer’s settings and status. At the back, there’s a space where the resin cartridge slots into the side and feeds the tank once its vent is opened. The build platform, tank and cartridge are all easily accessible, and the overall finish feels closer to a professional product than most of the resin printers that I look at, although they have been steadily improving.
Alongside the printer, there are a variety of optional accessories, including the external VOC Extractor. Unfortunately, I didn’t get to test this, but it looks like a great idea and is something that I have seen with a couple of other resin printers recently, including the Creality Harlot X1.
However, even without this filter, I noticed less odour than with many resin printers I have used, although I don’t have any equipment to measure emissions, so I kept the printer near a window and ensured the workshop had plenty of ventilation. Formlabs is keen to highlight that it has been given UL GREENGUARD Gold certification with the VOC Extractor attached, which should mean that far more of those fumes will be filtered out.
Through the test, the Form Studio 1 sat alongside several new FFF 3D printers and, aside from the faint whirr of the motors, it remained relatively quiet. On the rare breaks when the other machines were quiet, the machine noise was noticeable, but it was a low background and rhythmical sound rather than the fast-paced motion noises of the other printers.
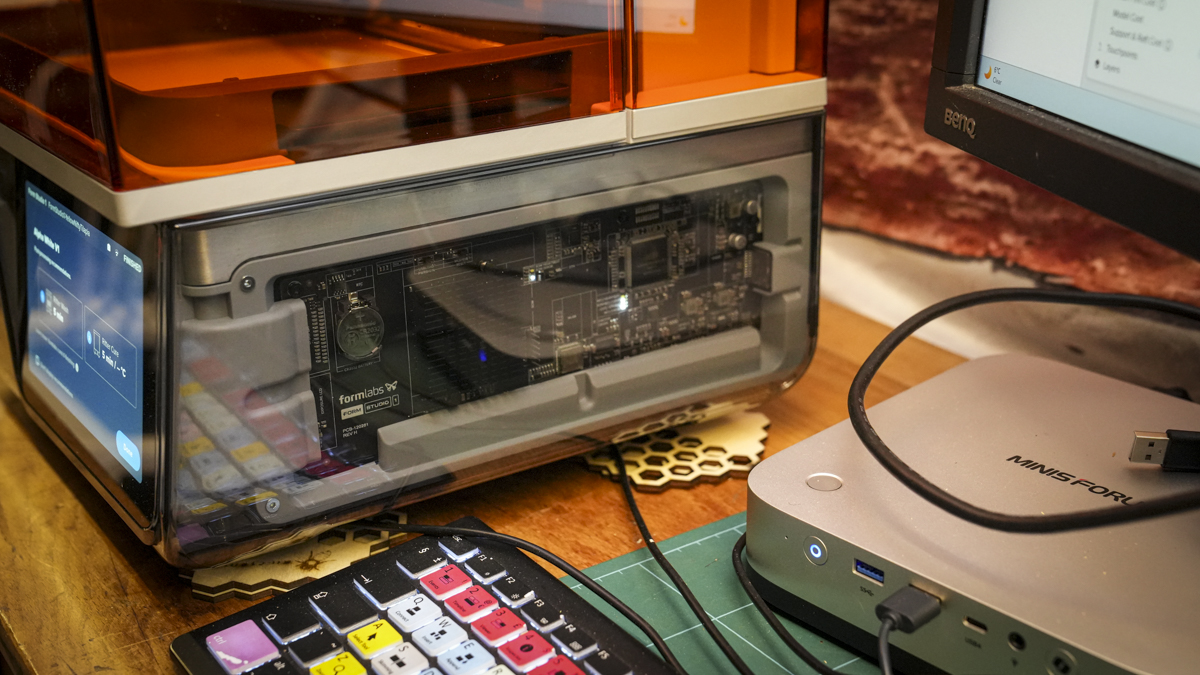
Initial setup took around five minutes and only required me to fit the build platform and install the resin cartridge before plugging in the power. Then, once started up, I had to connect the printer to Wi-Fi and follow the touchscreen instructions.
One of the first prompts gets you to level the printer, and there's a small disc tool included in the packaging to help you level the machine. Inside one of the many sensors drives a graphical display on the LCD, and this helps with the levelling process. Some of the 3D printers I’ve been looking at recently are extremely heavy, and the effect that they have had on my workbench quickly became apparent at this stage.
While the legs of the machine offer plenty of adjustment, the state of my desk meant that I had to shim one of the machine's legs to get the printer level. Thankfully, the Bambu Lab R1 has been busy cutting place mats, and two of these under each of the right-side feet did the job, and a new workbench has been ordered.
Connecting the machine to PreForm on both PC and Mac was easy enough, although I would have preferred a more automatic discovery process. The process involves entering the printer’s IP address to make the connection; however, unlike other machines that use this approach, the input for the IP in the software is very apparent, and the IP itself shows on the printer's home page.
This manual approach to set-up may be related to the beta software supplied for the review, but it’s less seamless than the setup on some newer printers. USB and Wi-Fi are available; I used Wi-Fi for most of the review as I prefer not to be in the same room as the resin printers when the tanks are full. The other manual point here is that the resin cartridge and print material also need to be matched during setup, again with RFID so available. I would have thought it would have been a small step to include a chip in the cartridge so that it was automatically recognised.
- Design: 4.5/5
Print technology: Masked stereolithography (MSLA), using Formlabs’ Low Force Display (LFD) engine
Build volume: 200 × 125 × 235 mm
35 µm
Layer heights: 30–250 µm, depending on resin
Maximum print speed: 130 mm/hour with Alpha Fast Resin; average 40 mm/hour across materials
Nine validated resins; Open Material Mode included; no biocompatible materials
Resin handling: Cartridge V2 with automatic resin dispensing
PreForm and Dashboard
Dimensions (W × D × H): 342 × 315 × 502 mm
First, placing the machine on the workbench, it’s obvious that the quality and design of the Form Studio 1 is a level up from other sub £1000 resin 3D printers. Formlabs, with the release of this machine, is moving aggressively into the sector, and while the build quality is excellent, this is matched by a set of features that are frankly so close to the flagship Form4, which is considerably more expensive, it’s difficult to see how any of the other companies are going to compete.
The machine uses Formlabs’ Low Force Display (LFD) print engine, with a backlight unit and LPU S1. This offers a 35-micron pixel pitch and 35-micron XY resolution, which is designed to produce fine detail, and through the initial parts of the test, it didn’t fail to impress.
The build volume at 200 x 125 x 235mm is slightly taller than the Form 4’s, and as I started to lay out models considering the size of the machine, it does seem substantial. A heated chamber and resin have become a standard feature of quality resin machines, and here it’s automatically integrated with the temperature control, dependent on the material used, but it will range between 25 and 45°C. A temperature monitor monitors the ambience inside, and further printers measure the resin level and print force, and through the software you can keep an eye on all the stats as well as the job status.
One of the features that I really like about the Formlabs printers is the cartridge system; this is used by some other manufacturers, and its use instantly cuts down on the fuss and is a far better and more reliable approach than when compared with the feed systems. One of the big differences, aside from the design, between this and the Form 4 is that the Studio 1 only has support for nine materials from Formlabs and none of the biocompatible options; however, it does feature an Open Material Mode.
The tanks are also a little simpler than those provided with the Form 4, and there are two tank types: the standard Form Studio Resin Tank, which is used for eth Alpha and selected Formlabs materials, while the Resin Tank Pro is required for Tough 1500 V2 and Open Material Mode.
Formlabs recommends a separate tank for each material; using an incompatible resin with the wrong tank can damage the tank film, something that I learnt a few years ago. For this test, I used the standard Form Studio Resin Tank and kept three tanks in rotation, assigning one to each material. That was easier than cleaning a tank every time I changed resin, although each tank still needs manual cleaning when you have finished with it or are leaving the printer unused for a few days. Seeing as how this machine has been running pretty much daily for the last three weeks, that hasn’t been too much of an issue, and when swapping tanks, I’ve given the remaining resin a quick mix before use.
One of the many optional extras provided by Formlabs was the Form Studio Build Platform Flex; this is of a different design to the one used in the Form4 but works just as well and is one of the most useful additions. In my experience, it has made removing parts much easier than prizing them from a rigid platform, which can be tricky.
It’s also worth noting that the printer is sold with either the standard or Flex platform, depending on the package and as the price difference is only around $50, I would definitely stretch to get the package with the Flex. The external VOC Extractor is another optional extra and again something that I would be tempted to get.
Backing the printer is the PreForm software, and this is the same as the version that I use with the Form4. It essentially enables you to import your models to the build plate, select the options and print. However, what I like about this is that you can import several models to different projects, choose the material and layer height, orient the parts, generate supports and send jobs to the printer in a queue; this is far more fluid for workflow than the approach of most other slicers, although PRUSA Slicer has taken steps towards this style of workflow as well.
Once a model is imported, there’s a quick one-click button that handles orientation and supports, and for the majority of models this worked incredibly well, while there are also manual controls when I needed that, enabling the ability to adjust support density, contact points, rafts and pillars.
For larger models that can become weighty, there’s a hollowing option with the further ability to add drain holes when you need to reduce resin use or prevent trapped resin within the model.
The touchscreen on the front is huge, and the user interface that it displays is the best I have used on a 3D printer: clear, straightforward and designed to get a job going. What it doesn’t really enable you to do is tinker too much with the settings, although it does offer some adjustment, with more detailed controls in PreForm.
Back to PreForm, while the basics are straightforward, it does take a little more time to figure out all the intricacies, with the main Dashboard keeping print history, job status, materials, notifications and printer information all in one place. For me, the major part of the software is being able to prepare the next job while another was printing, and through the test, the history made it easy to find previous files for repeat jobs. While the setup was not entirely automatic, once connected, the software does make the workflow straightforward.
Pre-supported models made for other slicers can be used but will need Formlabs print settings or exposure adjustments. Checking through the Formlabs’ guide, they recommend using an FPS file for imported pre-supported models and adjusting exposure in small increments if those files have been prepared in Lychee or Chitubox; in this test, all files have been run through PreForm.
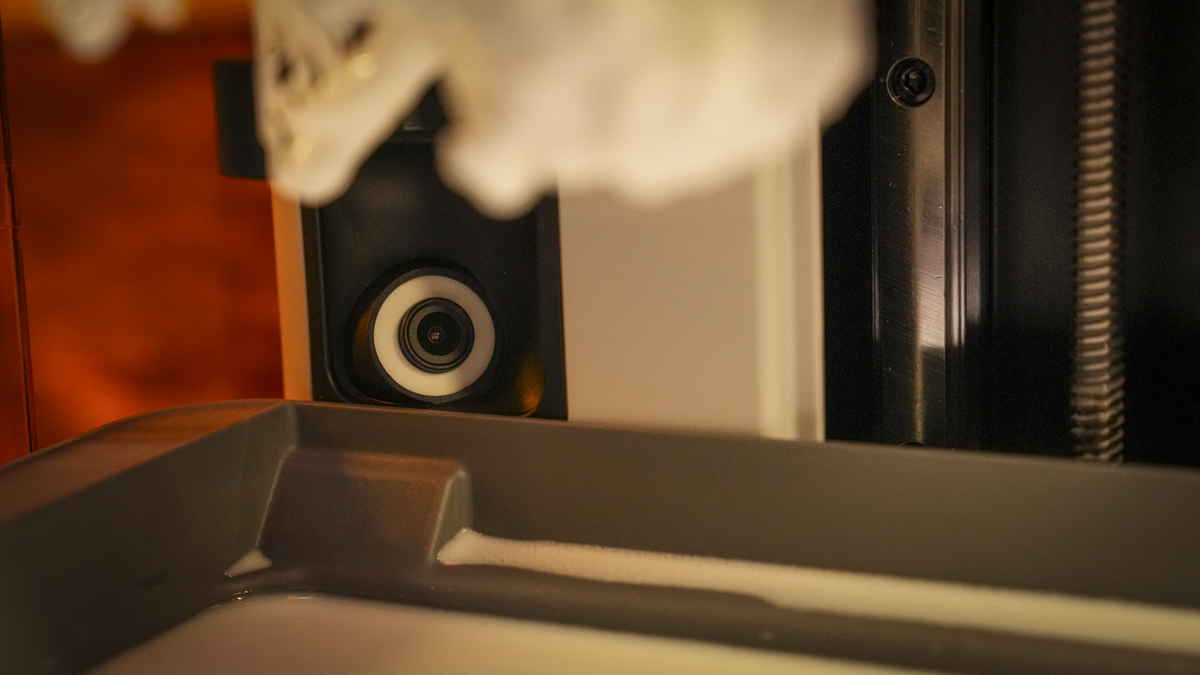
After that initial setup and installing the tank and cartridge, aside from replacing each as a cartridge ran out or I needed a material change, there really was little need to approach the machine for any other reason aside from removing the prints.
AS the review progressed, the reliability of the print process was what really stood out. Checking through the specifications and fact sheets, there’s plenty of information about the technology and sensors, and it all sounds impressive. However, what this comes down to is one of the easiest to use, least messy, but not mess-free resin printers on the market.
The experience of this printer is so close to that of the Form4 that the difference in use between the two is marginal, and as I don’t print with biocompatible materials, my personal experience of the two is actually very similar. Just that the aesthetics of the Studio 1 take the design of this and all 3D printers up a notch.
As the review progressed, the Form Studio 1 continued to produce clean, detailed prints, and as I switched from the White to clear resin, I didn’t get a single failed print; however, that may be partly due to my familiarity with resin printing and the need for the correct positioning of the supports, but it also felt like a far more reliable process than most other resin printers.
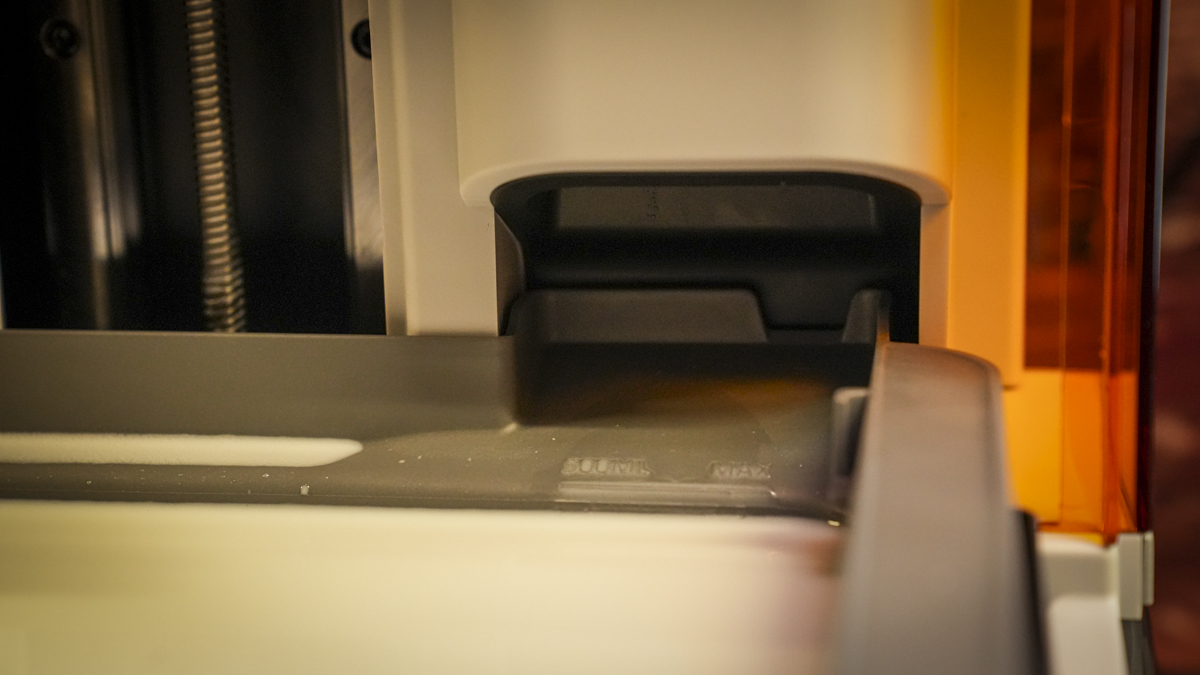
This process started at the setup with the tank slotting into place and the bottle of resin, or cartridge, being dropped into the slot at the back of the machine. The pop vent on the bottle is then opened, and that’s it. When you finish with that resin, you close the vent, pull out the cartridge and pop in the next, all nice and easy.
If you do go down the open resin route, then you select the options and either clean out an old Formlabs bottle and refill with your open resin or go down the traditional route. However, for the price difference in resins, I would personally stick with the Formlabs as it’s just about as good as you get.
The great feature of this system is that as the resin in the tank starts to diminish, it simply refills as needed. In this test, when the resin did get low, the machine pauses and enables you to make the switch; however, in the software it also gauges the amount of resin used so you know how far the print will get prior to starting printing.
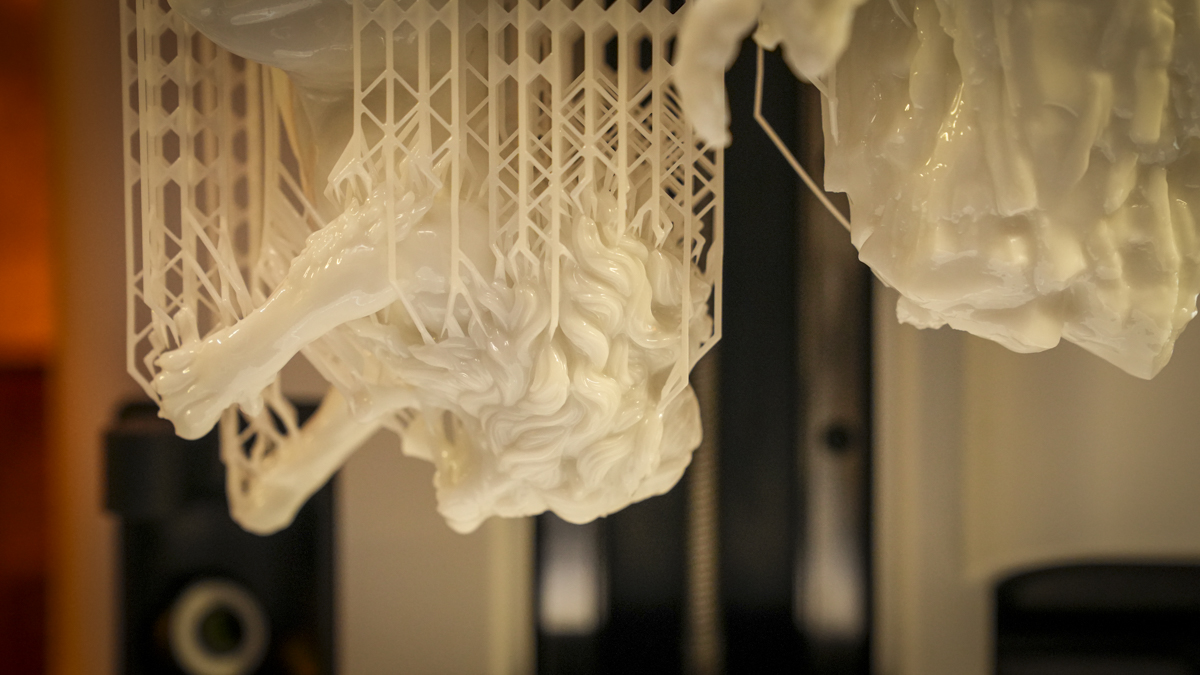
After running through a series of my usual test models, I turned to the NK_Heracles and Nemean Lion model by Nerikson, with the model available in 75mm and 100mm sizings. This is a model that I often test with printers, and due to the complexity and quality, few, if any, printers really do it full justice.
The print times and size of the model are often an issue as well; however, the 75mm split into its three parts fitted comfortably onto the build platform and with a bit of shifting around, I managed to get the full 100mm version onto the plate. The fact that it all fitted was in itself an achievement, but then the 10-hour print time was far faster than I’ve seen before. I ended up running this print through twice just to check consistency, and both times it ran through without issue.
I then ran through printing the Metal Slug SV-001 Tank, which took 2 hours 44 minutes; a series of figures; and pinhole-camera exteriors and each printed at speed and with absolute consistency.
Each pinhole-camera exterior took around four hours to print using standard white resin; the interiors will be coated later. These models gave me a mix of larger models, figures and functional parts, and when it came to the actual print process, everything was very straightforward, especially with the Flex plate enabling almost instant print release, with no battles.
As I ran through my test models and then a few more with the resins provided, I was increasingly impressed with the speed and consistency of the prints. While Formlabs quotes a maximum print speed of 130mm per hour with Alpha Fast resin at a 250-micron layer height, the prints with the standard resin were slower, but still even the largest model, which did take 10 hours, I felt was still respectable.
Alongside the hardware is the PreForm software, and this can initially be a little daunting. As I loaded up some models, the printability warnings appeared, and you have to work through adjustments with the support tools and other features to ensure that everything prints ok; this alert system obviously works, as through the test I didn’t get a model that failed.
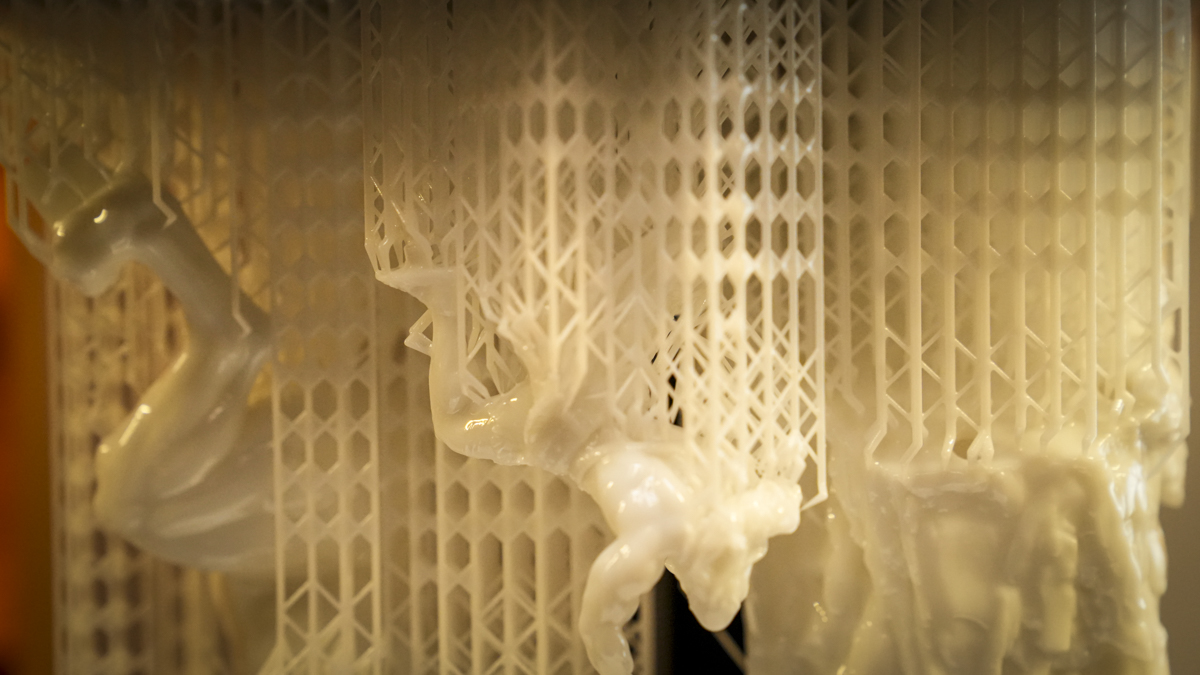
I also liked the fact that as the machine was working, I was able to queue up the next job, so when the print finished, the next could be loaded. If you work in a studio with repeat models being printed, this workflow just makes things easy.
As I’ve mentioned, the print process is about as streamlined as it gets; however, resin prints still need to go through the post-process clean-up. As the models came off the printer, they’re wet and uncured, and need washing and post-curing before handling and use.
Because of space restrictions, I used the Form Wash and Form Cure from the Form 4, although the newer Form Studio Wash+Cure units were supplied with the review.
Formlabs recommends isopropyl alcohol for washing, which is quite standard, and there are slightly differing times for the wash and cure process dependent on the resin you’re using.
The Form Studio 1 is an impressive machine, capable of producing superb, and in fact, best-in-class resin prints. If you need to print functional parts, parts with absolute dimensional accuracy and a look that is hard to tell apart from injection moulding, models for desktop gaming or jewelery then this is an ideal option. However, do always keep in mind the clean-up process and those optional extras that are really essential.
It looks likely that this machine will retail for around $700, which makes the Formlabs Form Studio 1 a superb resin printer and one that will completely disrupt the market.
Having used the Form 4 for two years, the print quality of this new machine is remarkably close, and after a month with the Studio 1, I have to say I preferred it over the far more expensive machine.
The resin tank changing involves fewer parts, and the transparent sides and large touchscreen give the machine a refined feel. I might not be able to print with the bio-materials, and there are a few other smaller features that Studio 1 doesn’t have, but for the majority of users this is absolutely spot on.
Looking at the market for this style of printer, it is still expensive, and when you add in the optional extras, the price rises further with the Flex platform, optional VOC Extractor, resin and wash-and-cure machines.
Even so, if you need detailed, dimensionally accurate parts or want to produce small model runs, the print quality and ease of use make the Studio 1 the machine that I would go for over all others. My one wish is that there was a machine that meant that I didn’t need to handle the resin at all, but then with a requirement for supports, there is a sacrifice for the quality that resin enables.
Should you buy the Formlab Form Studio 1?
|
Premium for a hobbyist printer, but the workflow and print quality may justify it for regular use. |
4.5 |
|
|
Compact, well-finished and easy to access, with useful transparent panels and a touchscreen. |
4.5 |
|
|
Automatic resin handling, sensors and PreForm make a capable ecosystem. |
5 |
|
|
Fine, consistent prints in my test; add measured benchmarks and print count. |
5 |
|
|
A refined resin printer for serious makers and small studios. |
5 |
Buy it if...
Don't buy it if...
Alastair is a photographer, filmmaker and tech writer who has been working in the publishing industry since the late 1990s. For more than 25 years he has covered photography, video and technology across Future's photography, technology and gaming brands. He runs a photography and video production company and lectures in TV and film. He can usually be found testing mini PCs or prototyping and prop building with the aid of 3D printing.