Your 3D prints probably don't need to be rock solid, but what goes inside them still matters.
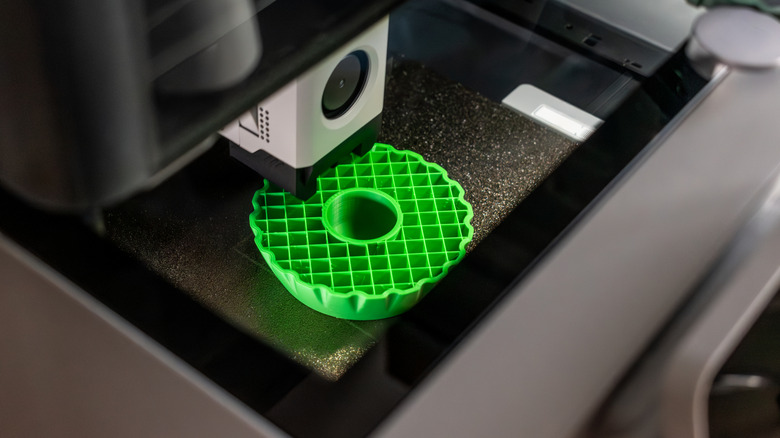
You may have noticed a weird web of lines inside 3D-printed models. That's infill. Typically, the interior of a model is not solid plastic in FDM or FFF 3D printing. Rather, the slicer (software that prepares files for 3D printing) generates an internal structure that supports the layers above it and provides some extra rigidity to the final product without wasting a whole spool of filament.
Infill isn't part of every 3D-printing process. For instance, resin printers tend to create solid models unless they are intentionally hollowed out. However, on the filament printers most beginners will be using, infill is one of those settings that can subtly alter the length of a print, the amount of material used and the strength of the finished part.
Infill density changes more than how much plastic is inside
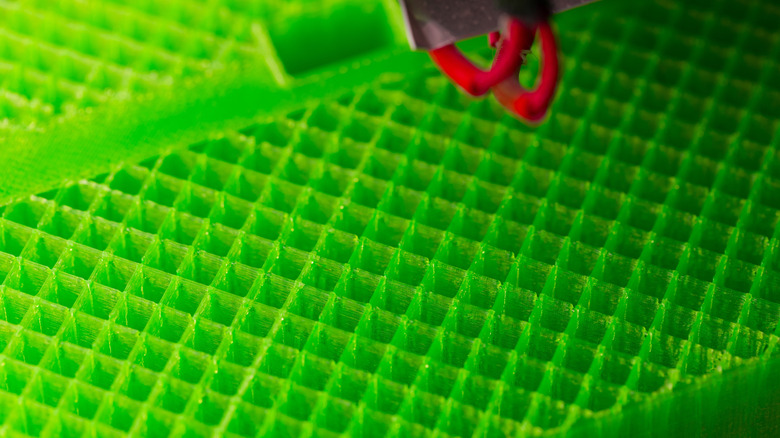
The infill density is given as a percentage. A model printed at 0 percent is hollow. The greater the percentage, the denser the internal structure. The slicer can also attempt to fill the interior at 100 percent, but you won't need to do that very often, if at all.
Most models can be printed with 10 to 15 percent infill, according to Prusa, and Flashforge recommends 20 percent as a starting point for general use. Neither source considers those numbers to be a universal rule. That makes figures like 10 or 20 percent less frightening than they may seem. A decorative figure or test print might require minimal infill, but a bracket supporting weight or taking repeated hits deserves more support inside.
Even 0 percent can work! In some cases, a model with a closed bottom can print flawlessly with an empty interior if it gradually closes toward the top. A wide flat surface is a different matter, as the printer might need to lay down filament across a large area with nothing but air beneath it. The melted plastic coming from the nozzle will sag when there's no structure to hold it up. That's why it's important to check your slicer's layer preview before discovering the problem several hours into a print.
Higher infill also increases filament use, weight and printing time. It can enhance compression resistance, but the infill percentage is not a magic strength indicator. Wall thickness, print orientation and material choice all play a role, and Prusa points out that more perimeters can be more effective in improving overall strength than more infill when you want a stronger part.
The infill pattern matters too
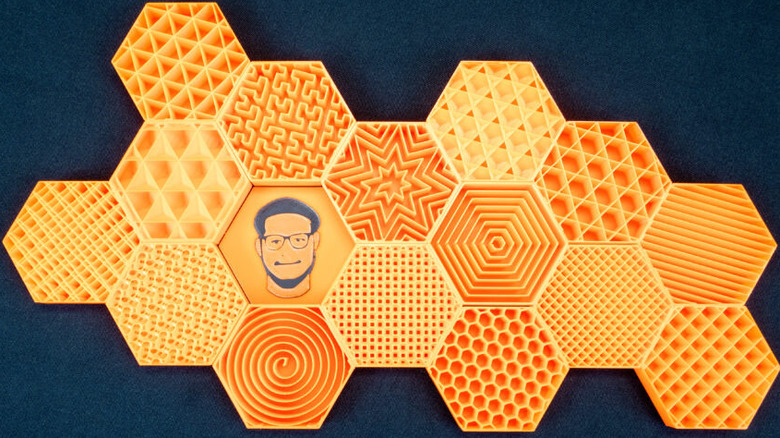
The amount of infill a printer will create depends on the density. All that plastic takes the shape of the pattern.
There are several patterns available with slicers, as no one pattern is ideal for all situations. Grid is a simple general-purpose solution. Cubic creates a 3D internal structure that can withstand forces from various directions. Gyroid is a replacement for straight lines with continuous curves and is often used for functional parts where a more even strength in multiple directions is beneficial. It also appears that someone has stuffed futuristic pasta into your print, which is a welcome addition no one requested.
Lightning infill moves almost in the opposite direction. It is not a regular structure throughout the model, but branches out mainly where upper surfaces need support. This can reduce the amount of filament used and the amount of time spent printing, but it will not offer the same amount of internal reinforcement as patterns designed for strength.
For beginners, it is not necessary to learn the whole infill menu of the slicer before printing anything. The default pattern and a moderate density are quite reasonable starting points. Replace them when the object provides you with a reason to.
A display model, electronics enclosure and load-bearing bracket all have different functions, and it doesn't make sense to use the same infill for all three. Prusa says for normal models, infill over 30 percent is hardly ever needed.